Hand-carving a bicycle
After dumping 60 hours into hand-carving a custom bicycle frame, I can say with high probability that you probably shouldn’t do so. Before I convince you of this, let me describe how I went about it.
A brief history of my bike builds
Five years ago, while recovering from a broken foot, I ordered the Calfee DIY Bamboo Bicycle Kit to give me something to do. The kit provides the bamboo, the tools, the diagrams, and instructional videos. It’s everything you need, except that the DIY jig was frustrating, as the connection points easily moved around when taped down. I started building a mountain bike but then turned it into a monster-cross bike (think cyclocross with 29" MTB tires):
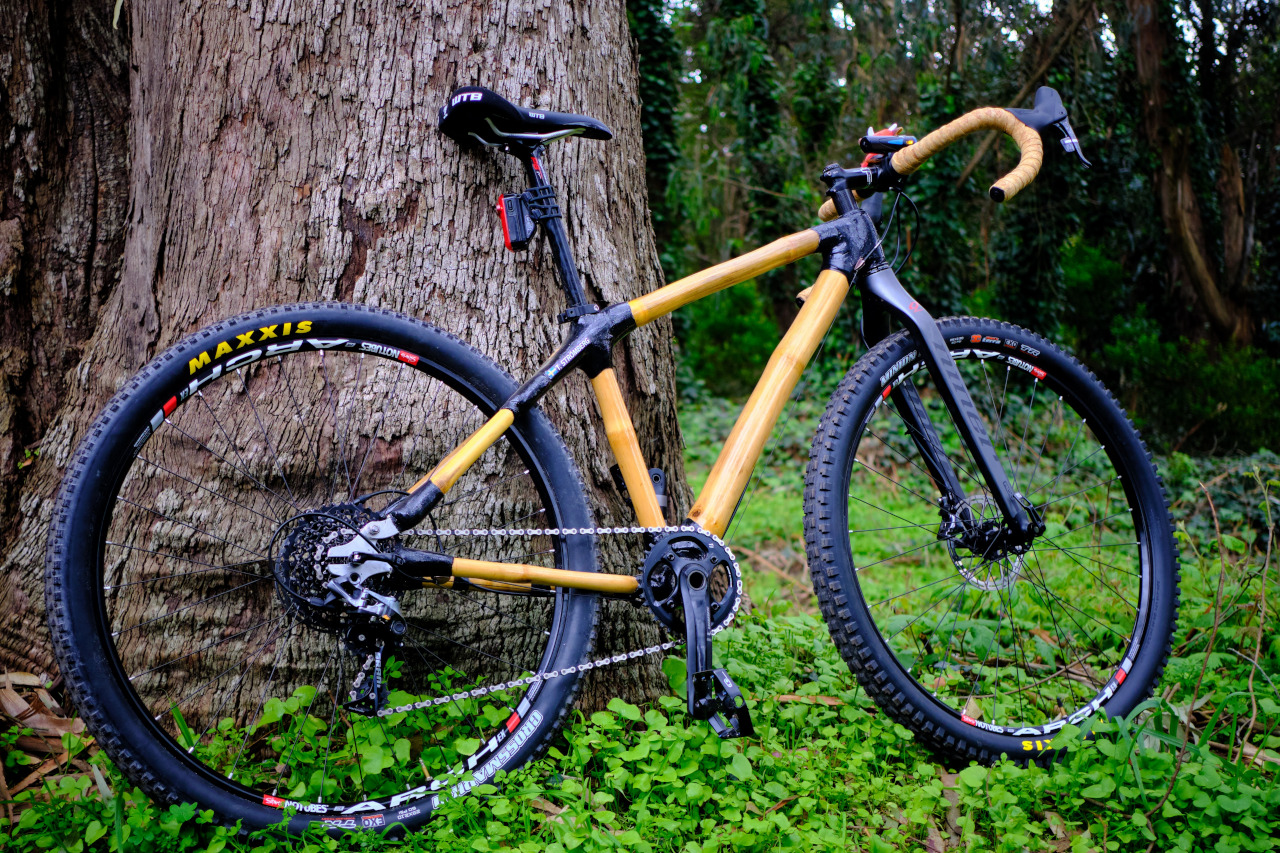
Some discoveries from this build experience were:
- Drop-bar bicycles and straight-bar bicycles have different geometries
- Building lugs out of solely fiberglass casting tape is unsuitable for long-term use
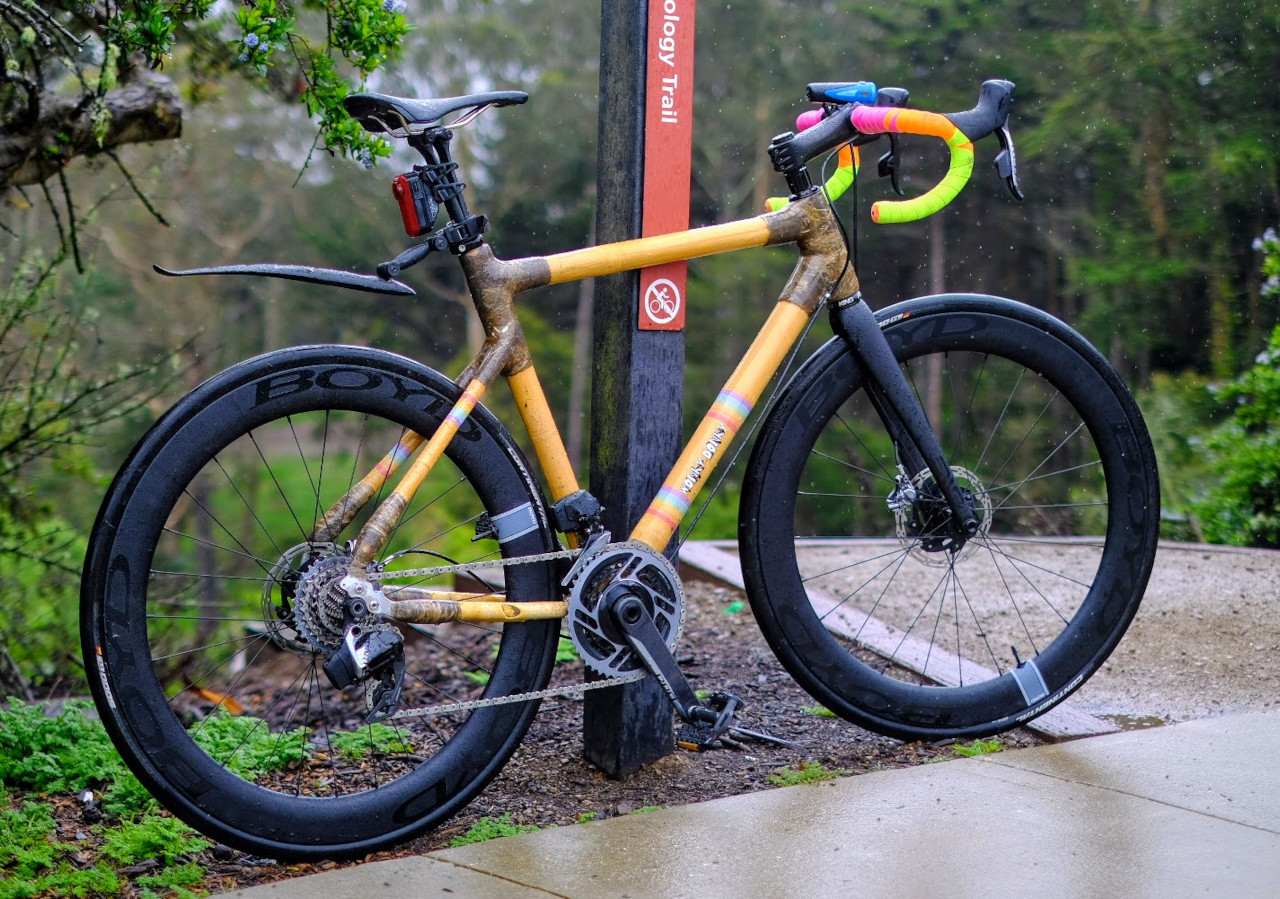
The bike lasted about two years before the poles became loose within the lugs. Thankfully this waited until I was in the middle of building a second bamboo bicycle, using the Bamboo Bicycle Club kit. While the jig was equally janky, after some significant reworking — it’s a fantastic road bike. I did use a different technique for building up the lugs, with an inner flax layer and an outer hemp layer:
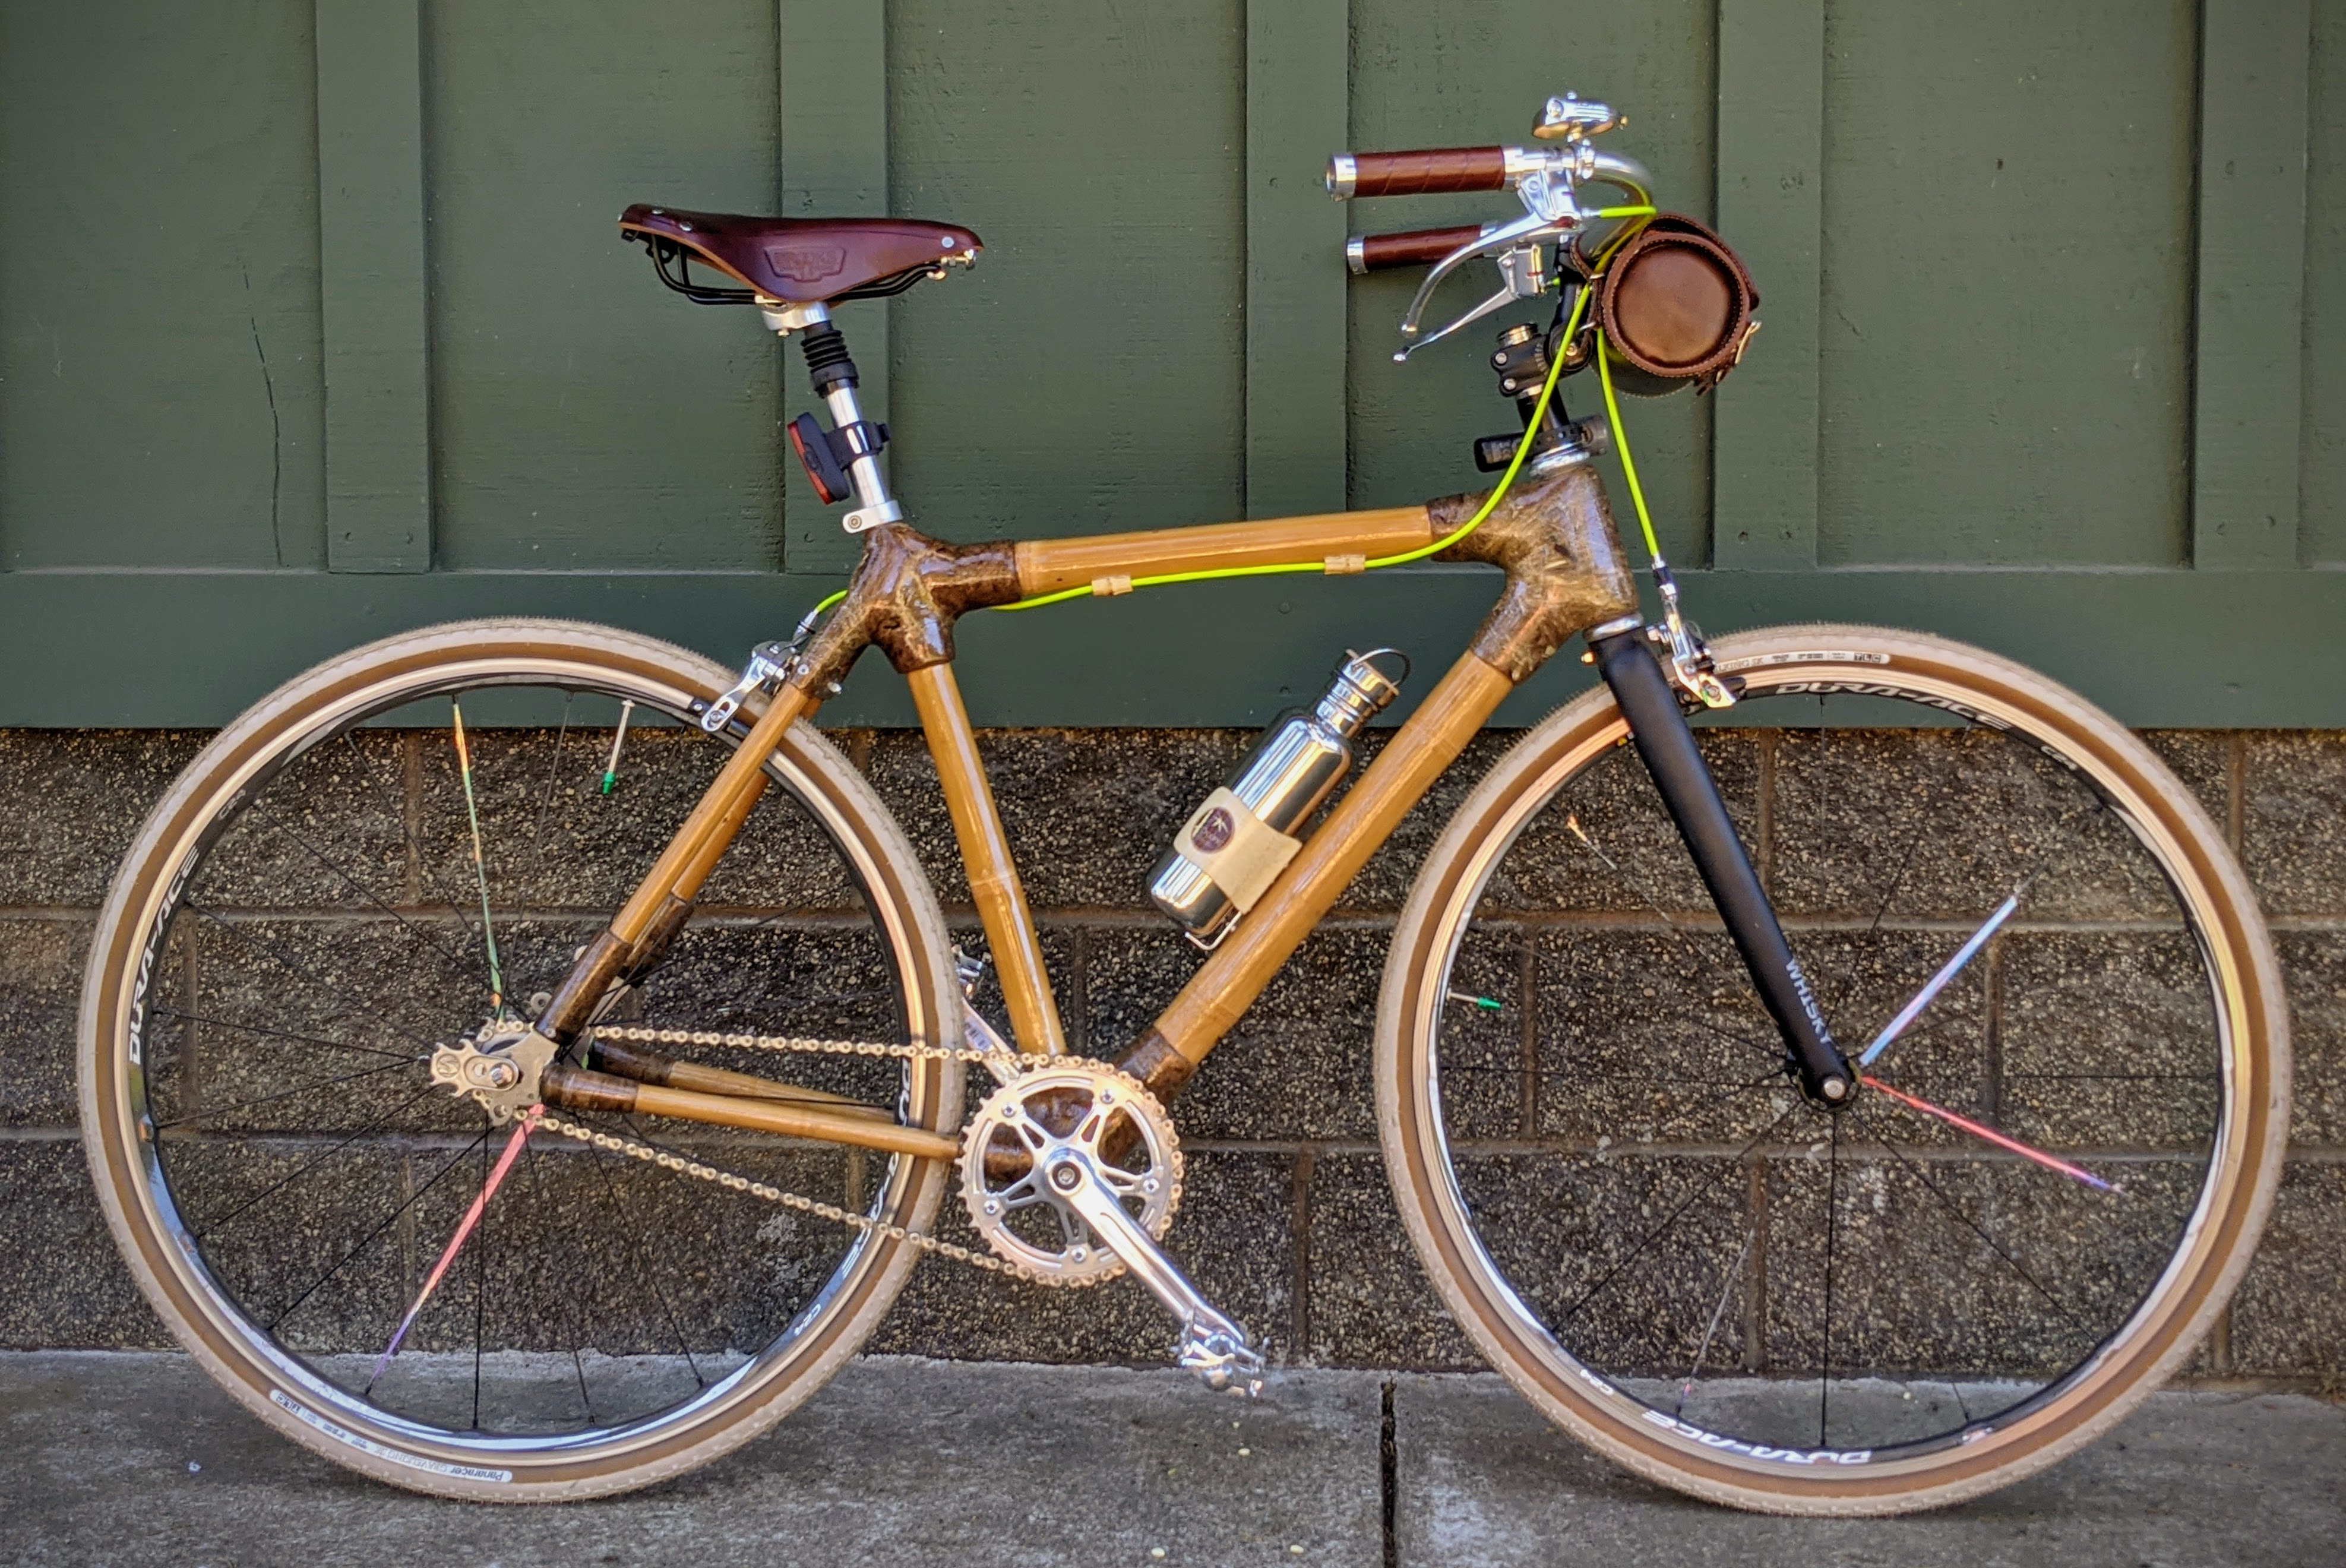
I’ve also since built a city bike using the Bamboo Bee kit. This kit had pre-cut poles and pre-assembled connection points for the head tube, bottom bracket, and dropouts, with hemp for the lugs:
Dreaming up a new geometry
Since the destruction of Big Panda, my monster-cross bike, I’ve wanted something for hitting up the local gravel roads. Gravel bikes are all the rage now, so I knew there would be a lot of bikes I could get inspiration from. I really like the look and characteristics of the Canyon Grizl, so after studying the competition, I decided to mostly ape it’s geometry:
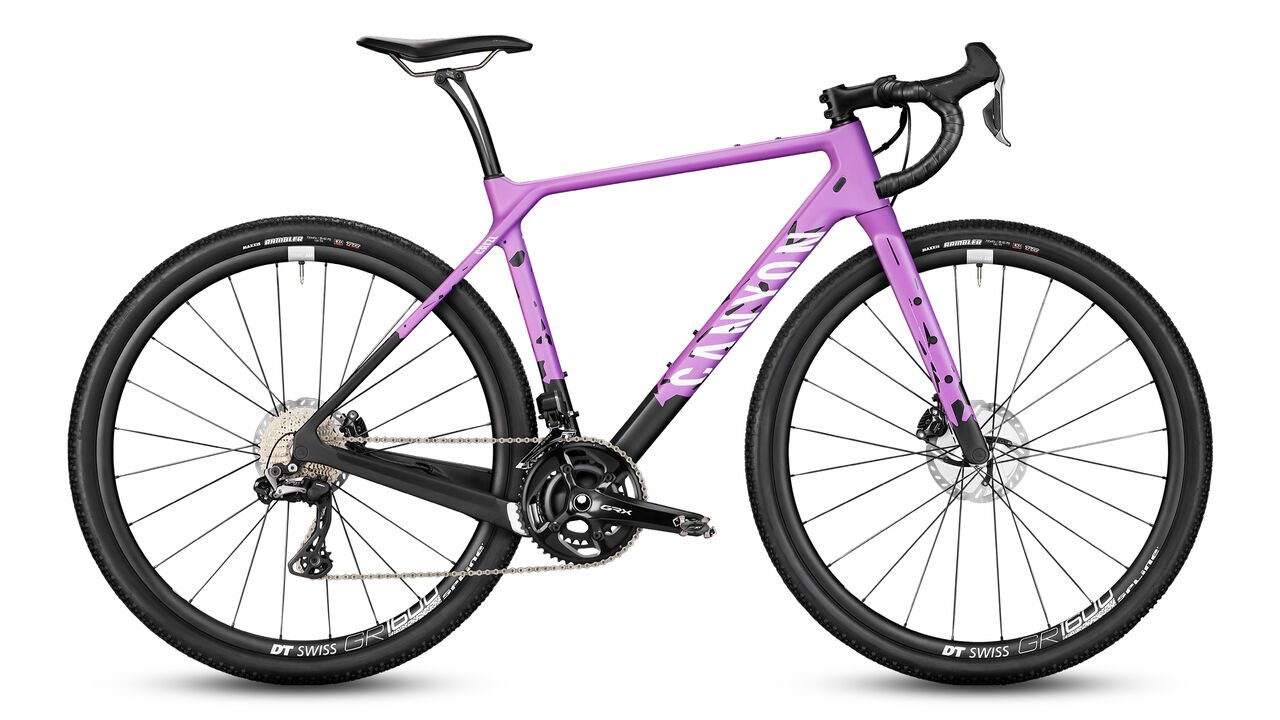
One major departure from the Grizl is that I wanted something more adept at bikepacking and long-distance travel, so I decided to give it slightly longer chainstays (435mm -> 440mm). I also had to change the trail from 68 to 60 as I couldn’t source a comparable carbon fork. Since I had the part handy, I decided to use a 150mm head tube instead of the 138mm, which should make it more comfortable. I also opted to use a 73mm bottom-bracket to give more tire clearance than a more typical 68mm road bike, or the 86mm press-fit that the Grizl uses.
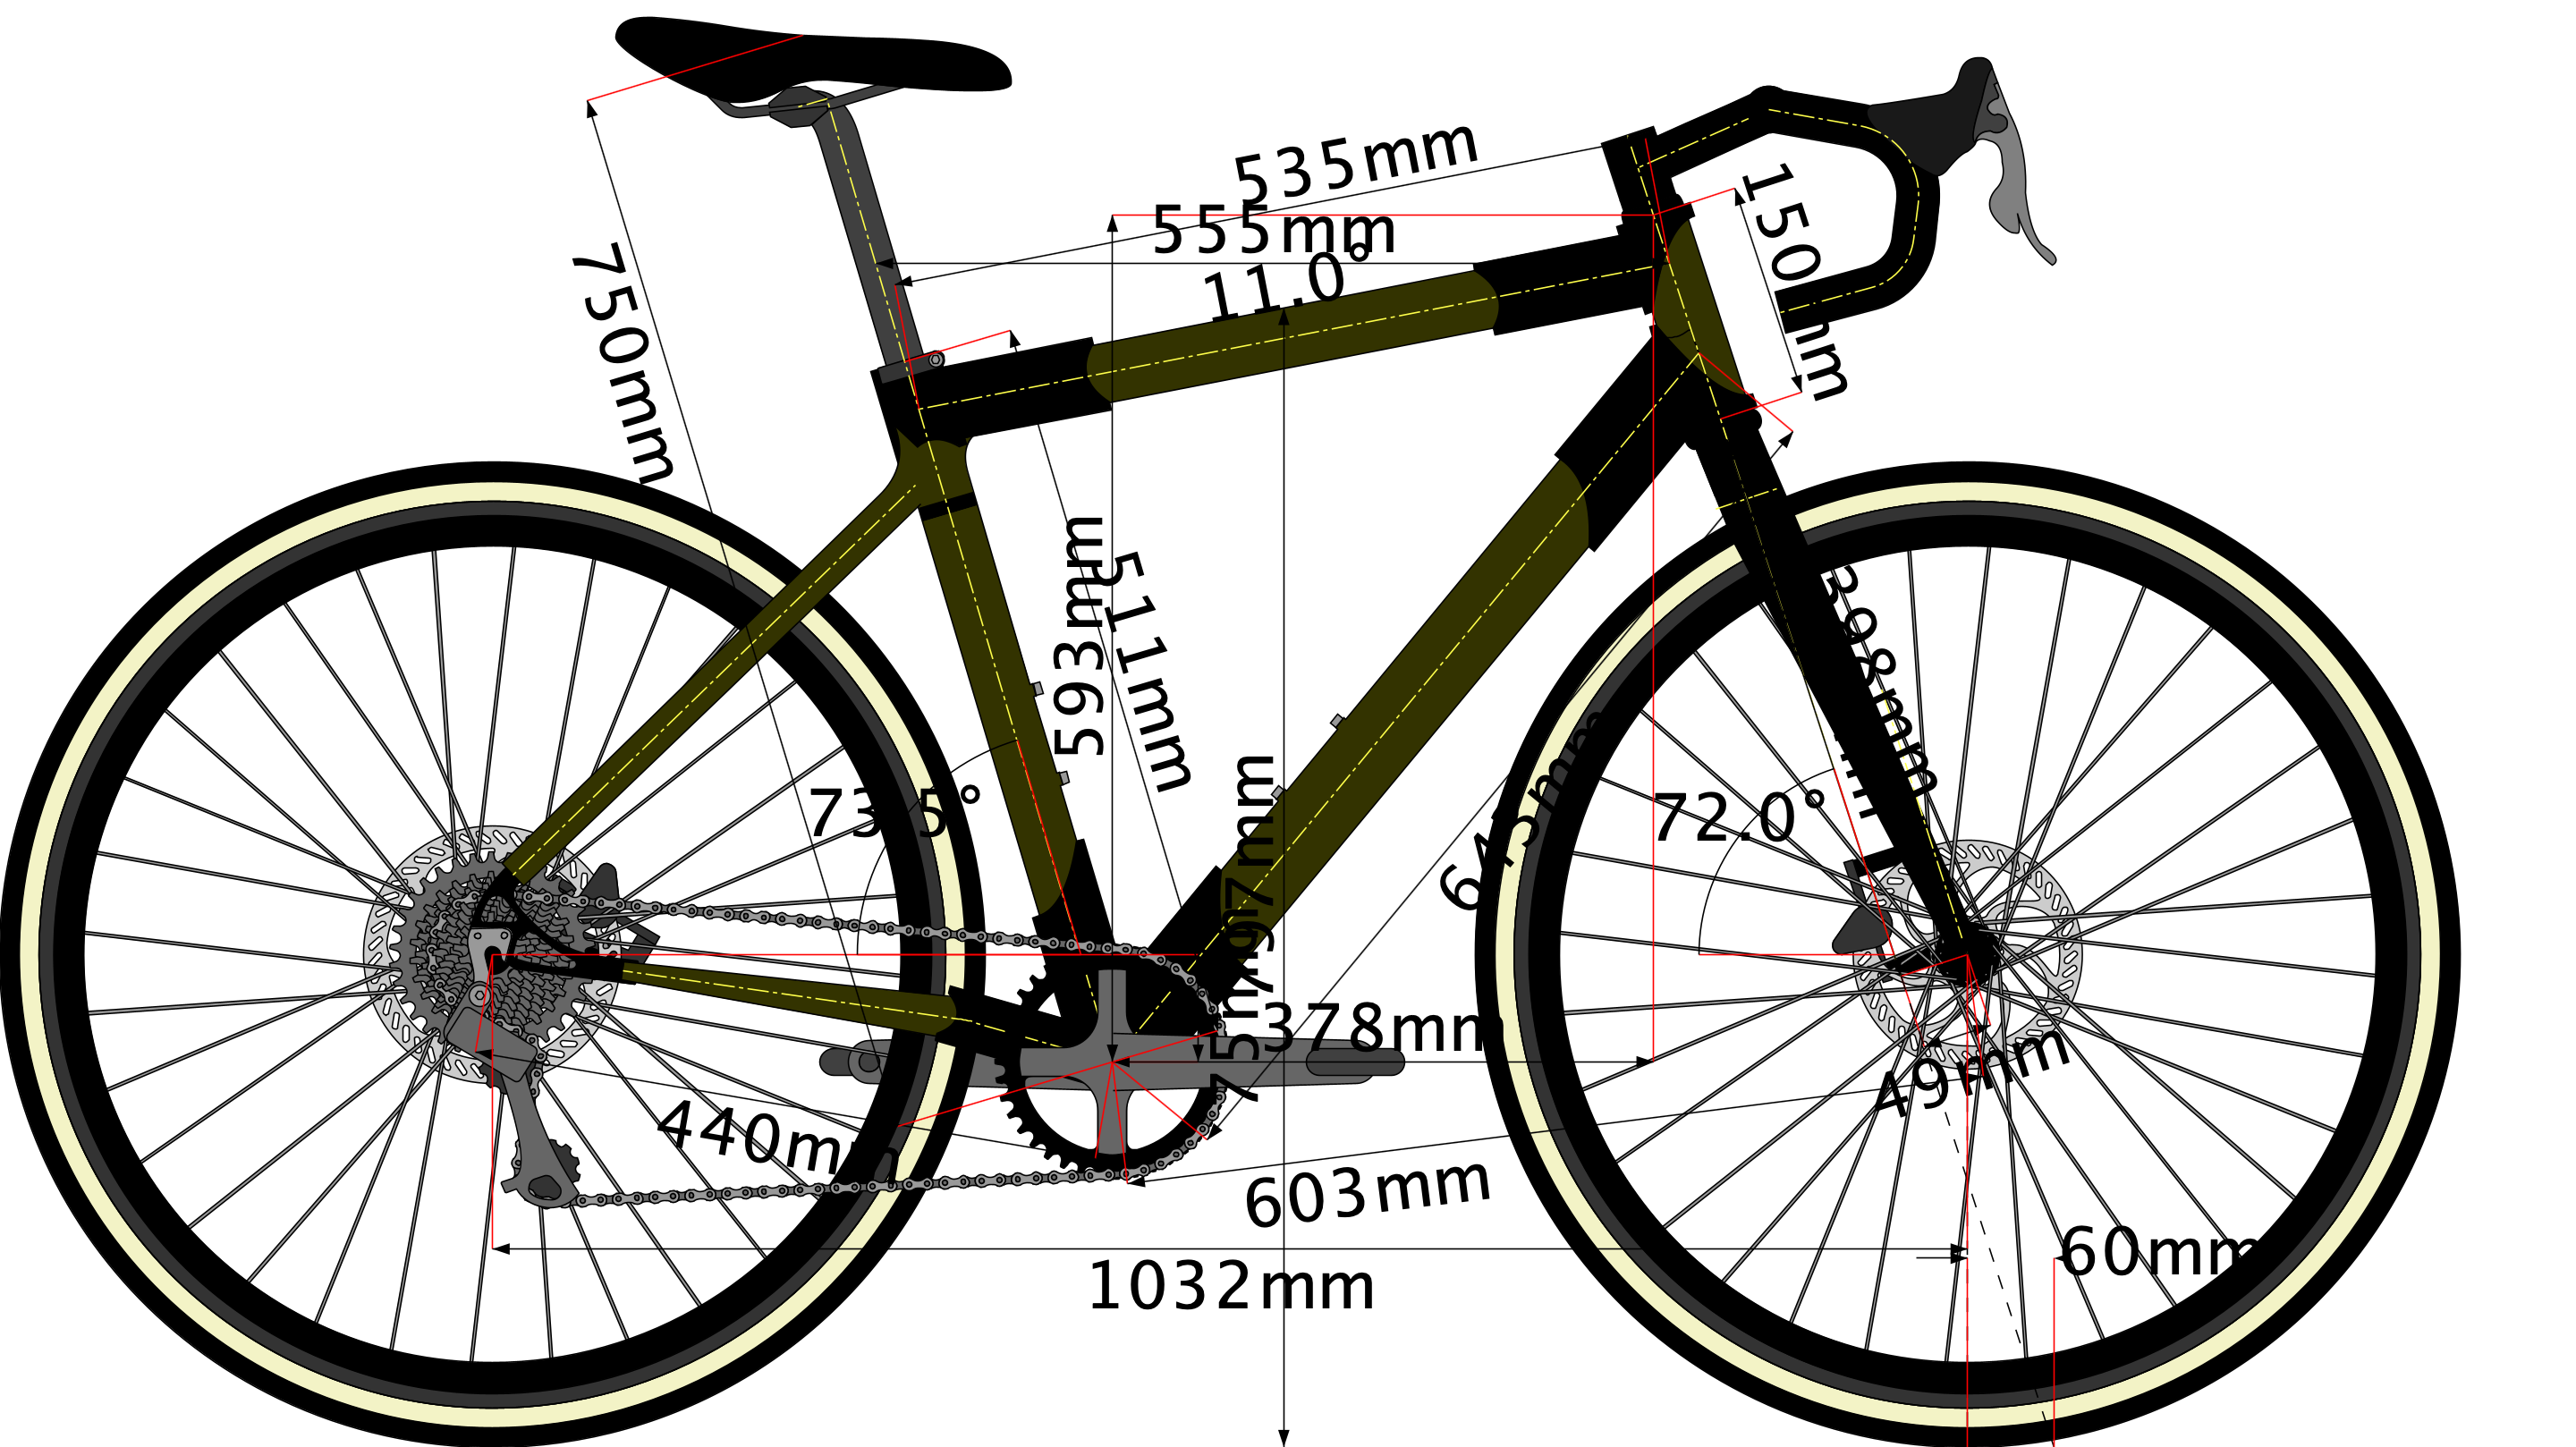
So, we’re already talking about a bike with very different riding characteristics. The final geometry underwent further changes as the cuts weren’t always exactly to plan, but this is roughly what I ended up with after plugging my numbers into BikeCAD:
Hand-carving
For the previous bikes, I’ve used the tube-cutting jig provided by Calfee. It’s pretty easy: you grab the correct diameter (38mm or 48mm) hole saw blade, mount both poles together, mark the angle, and cut. The biggest risk is accidentally reversing the angle. This time, I decided to omit both a bamboo-specific jig and the tube-cutting jig, to practice some of my new-found woodworking skills.
To start with, I’m using a fairly standard bicycle jig from Brew Bikes, which is unfortunately designed for use with perfectly cylindrical metal tubes. Thankfully, this problem only becomes an issue with the seat tube. Instead of a tube-cutting jig, I’m using some japanese hand-saws and lignivorous 40-grit sandpaper wrapped around similarly sized tubes (47mm, 38mm, etc). The process is simple: cut the pole and the correct center points, draw the diameter of the joining tube, make some diagonal cuts with the hand-saw, and sand it into a perfectly round hole.
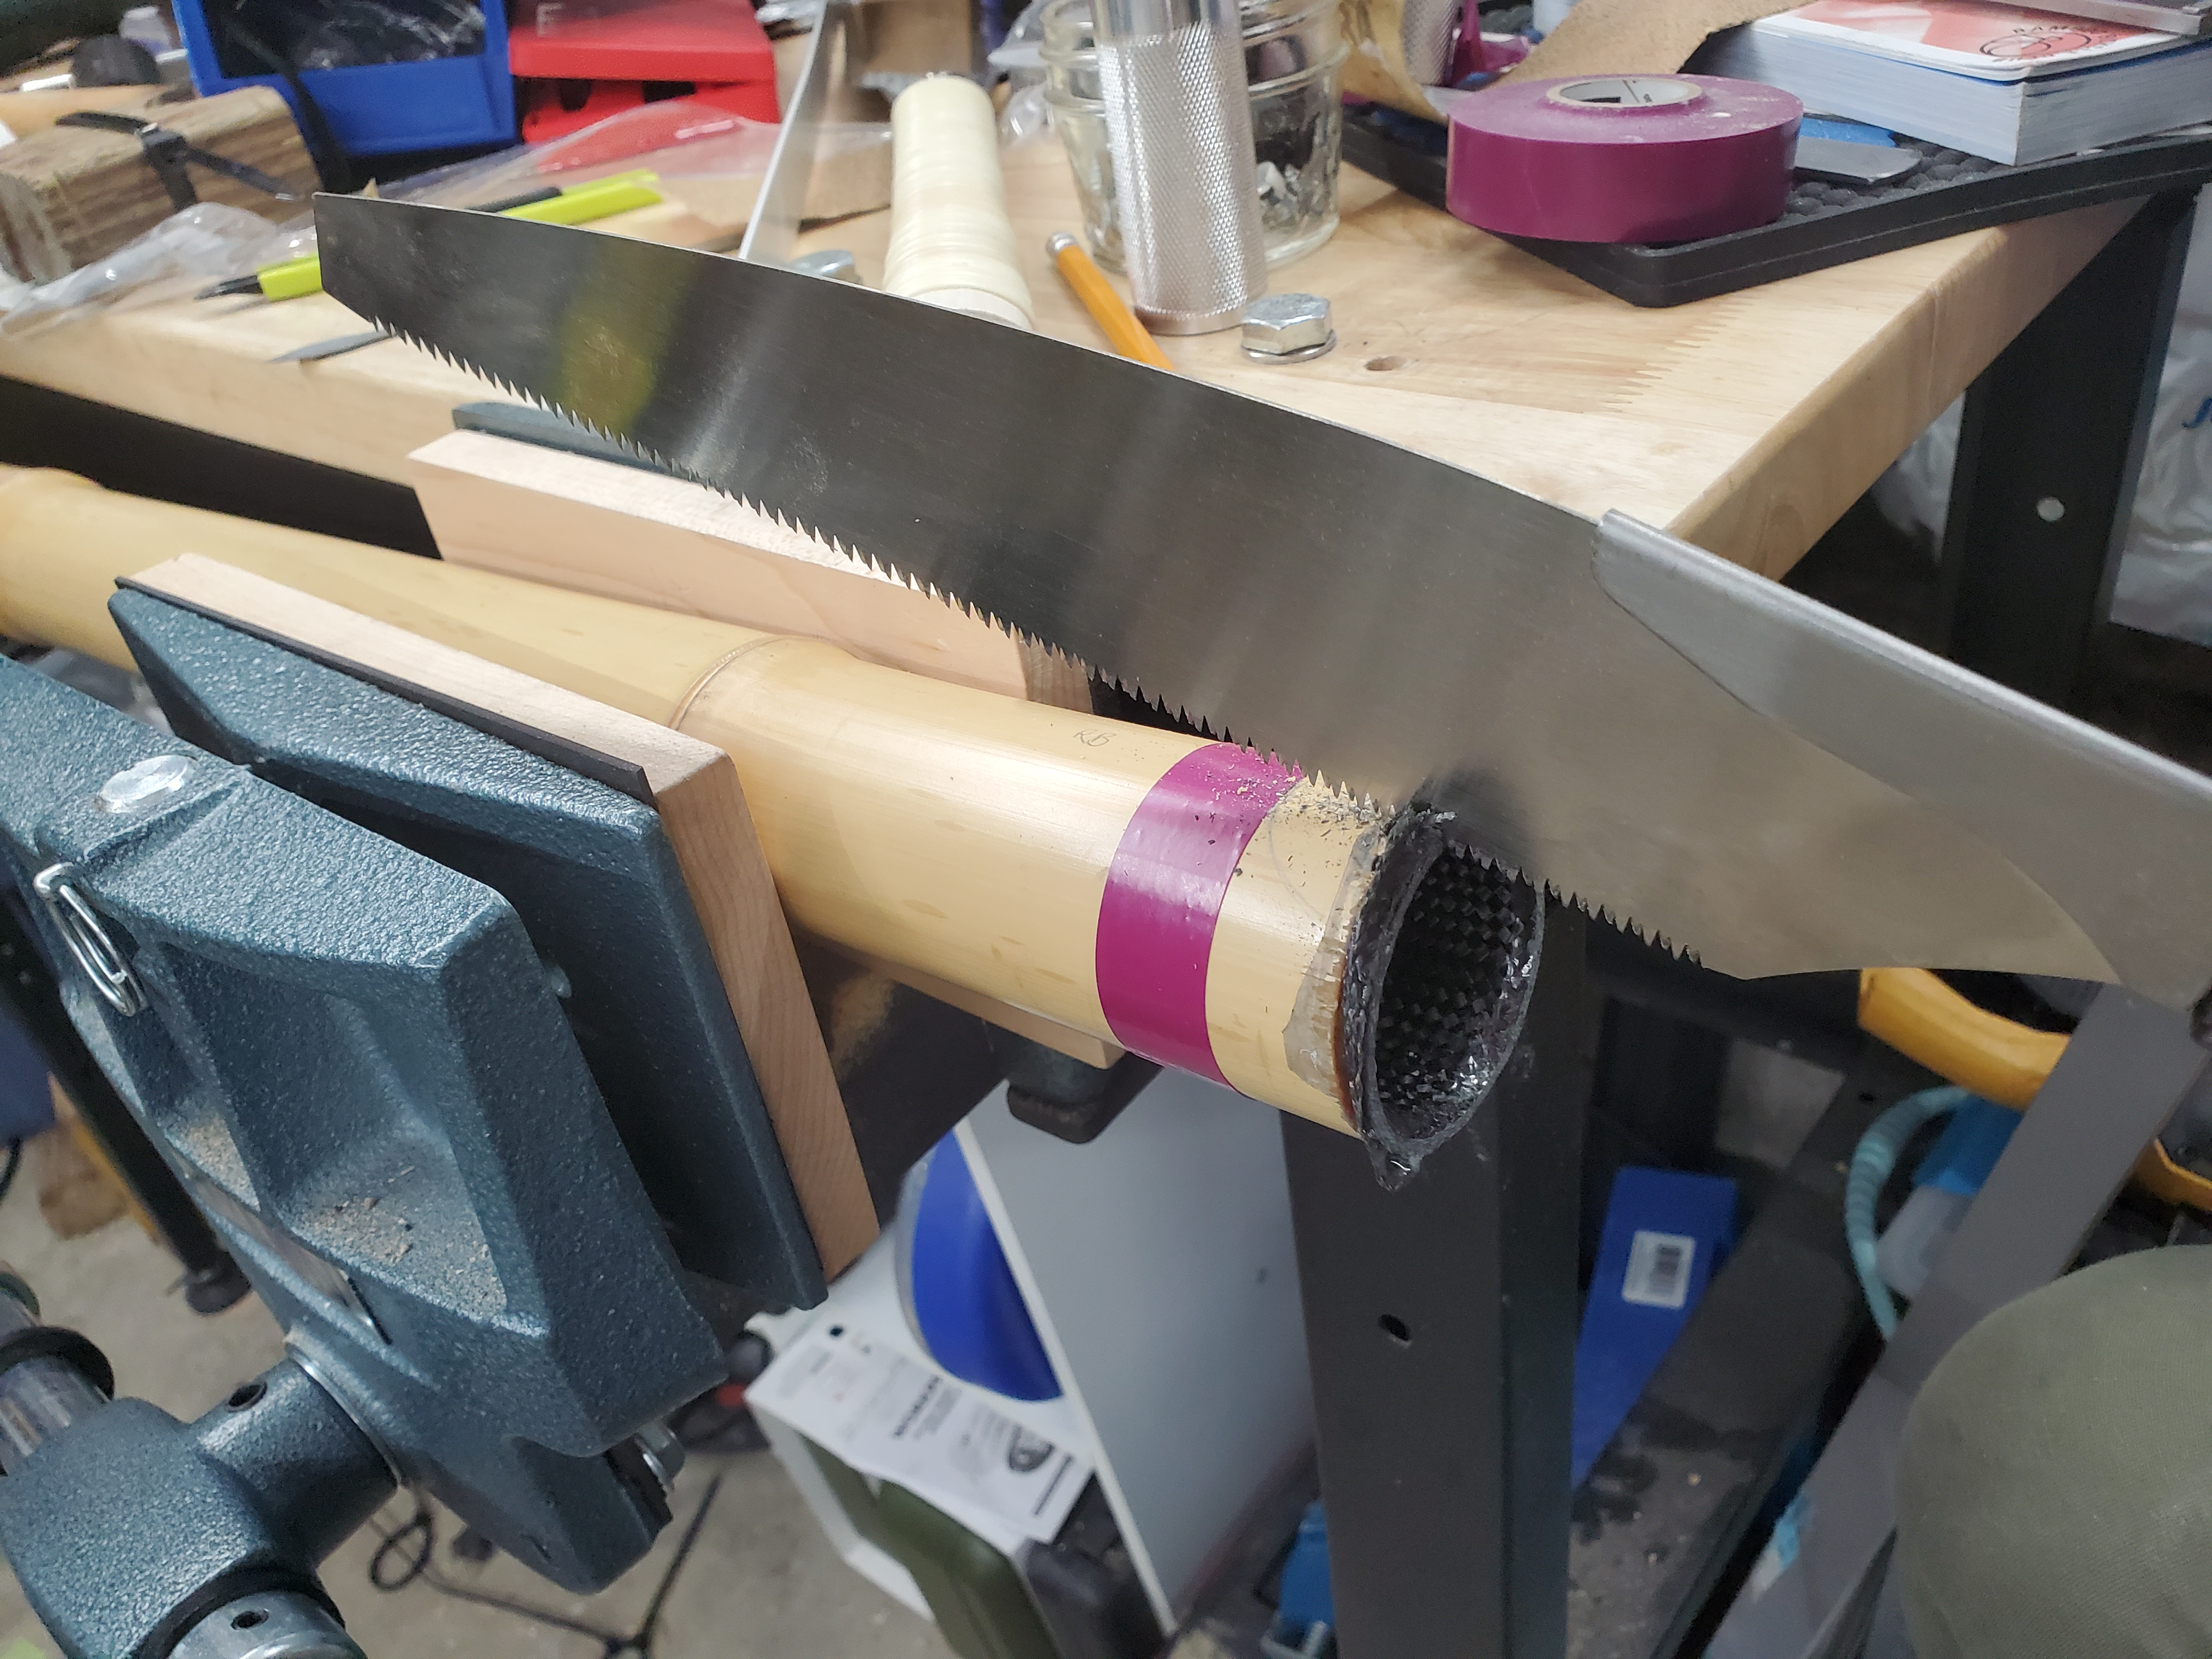
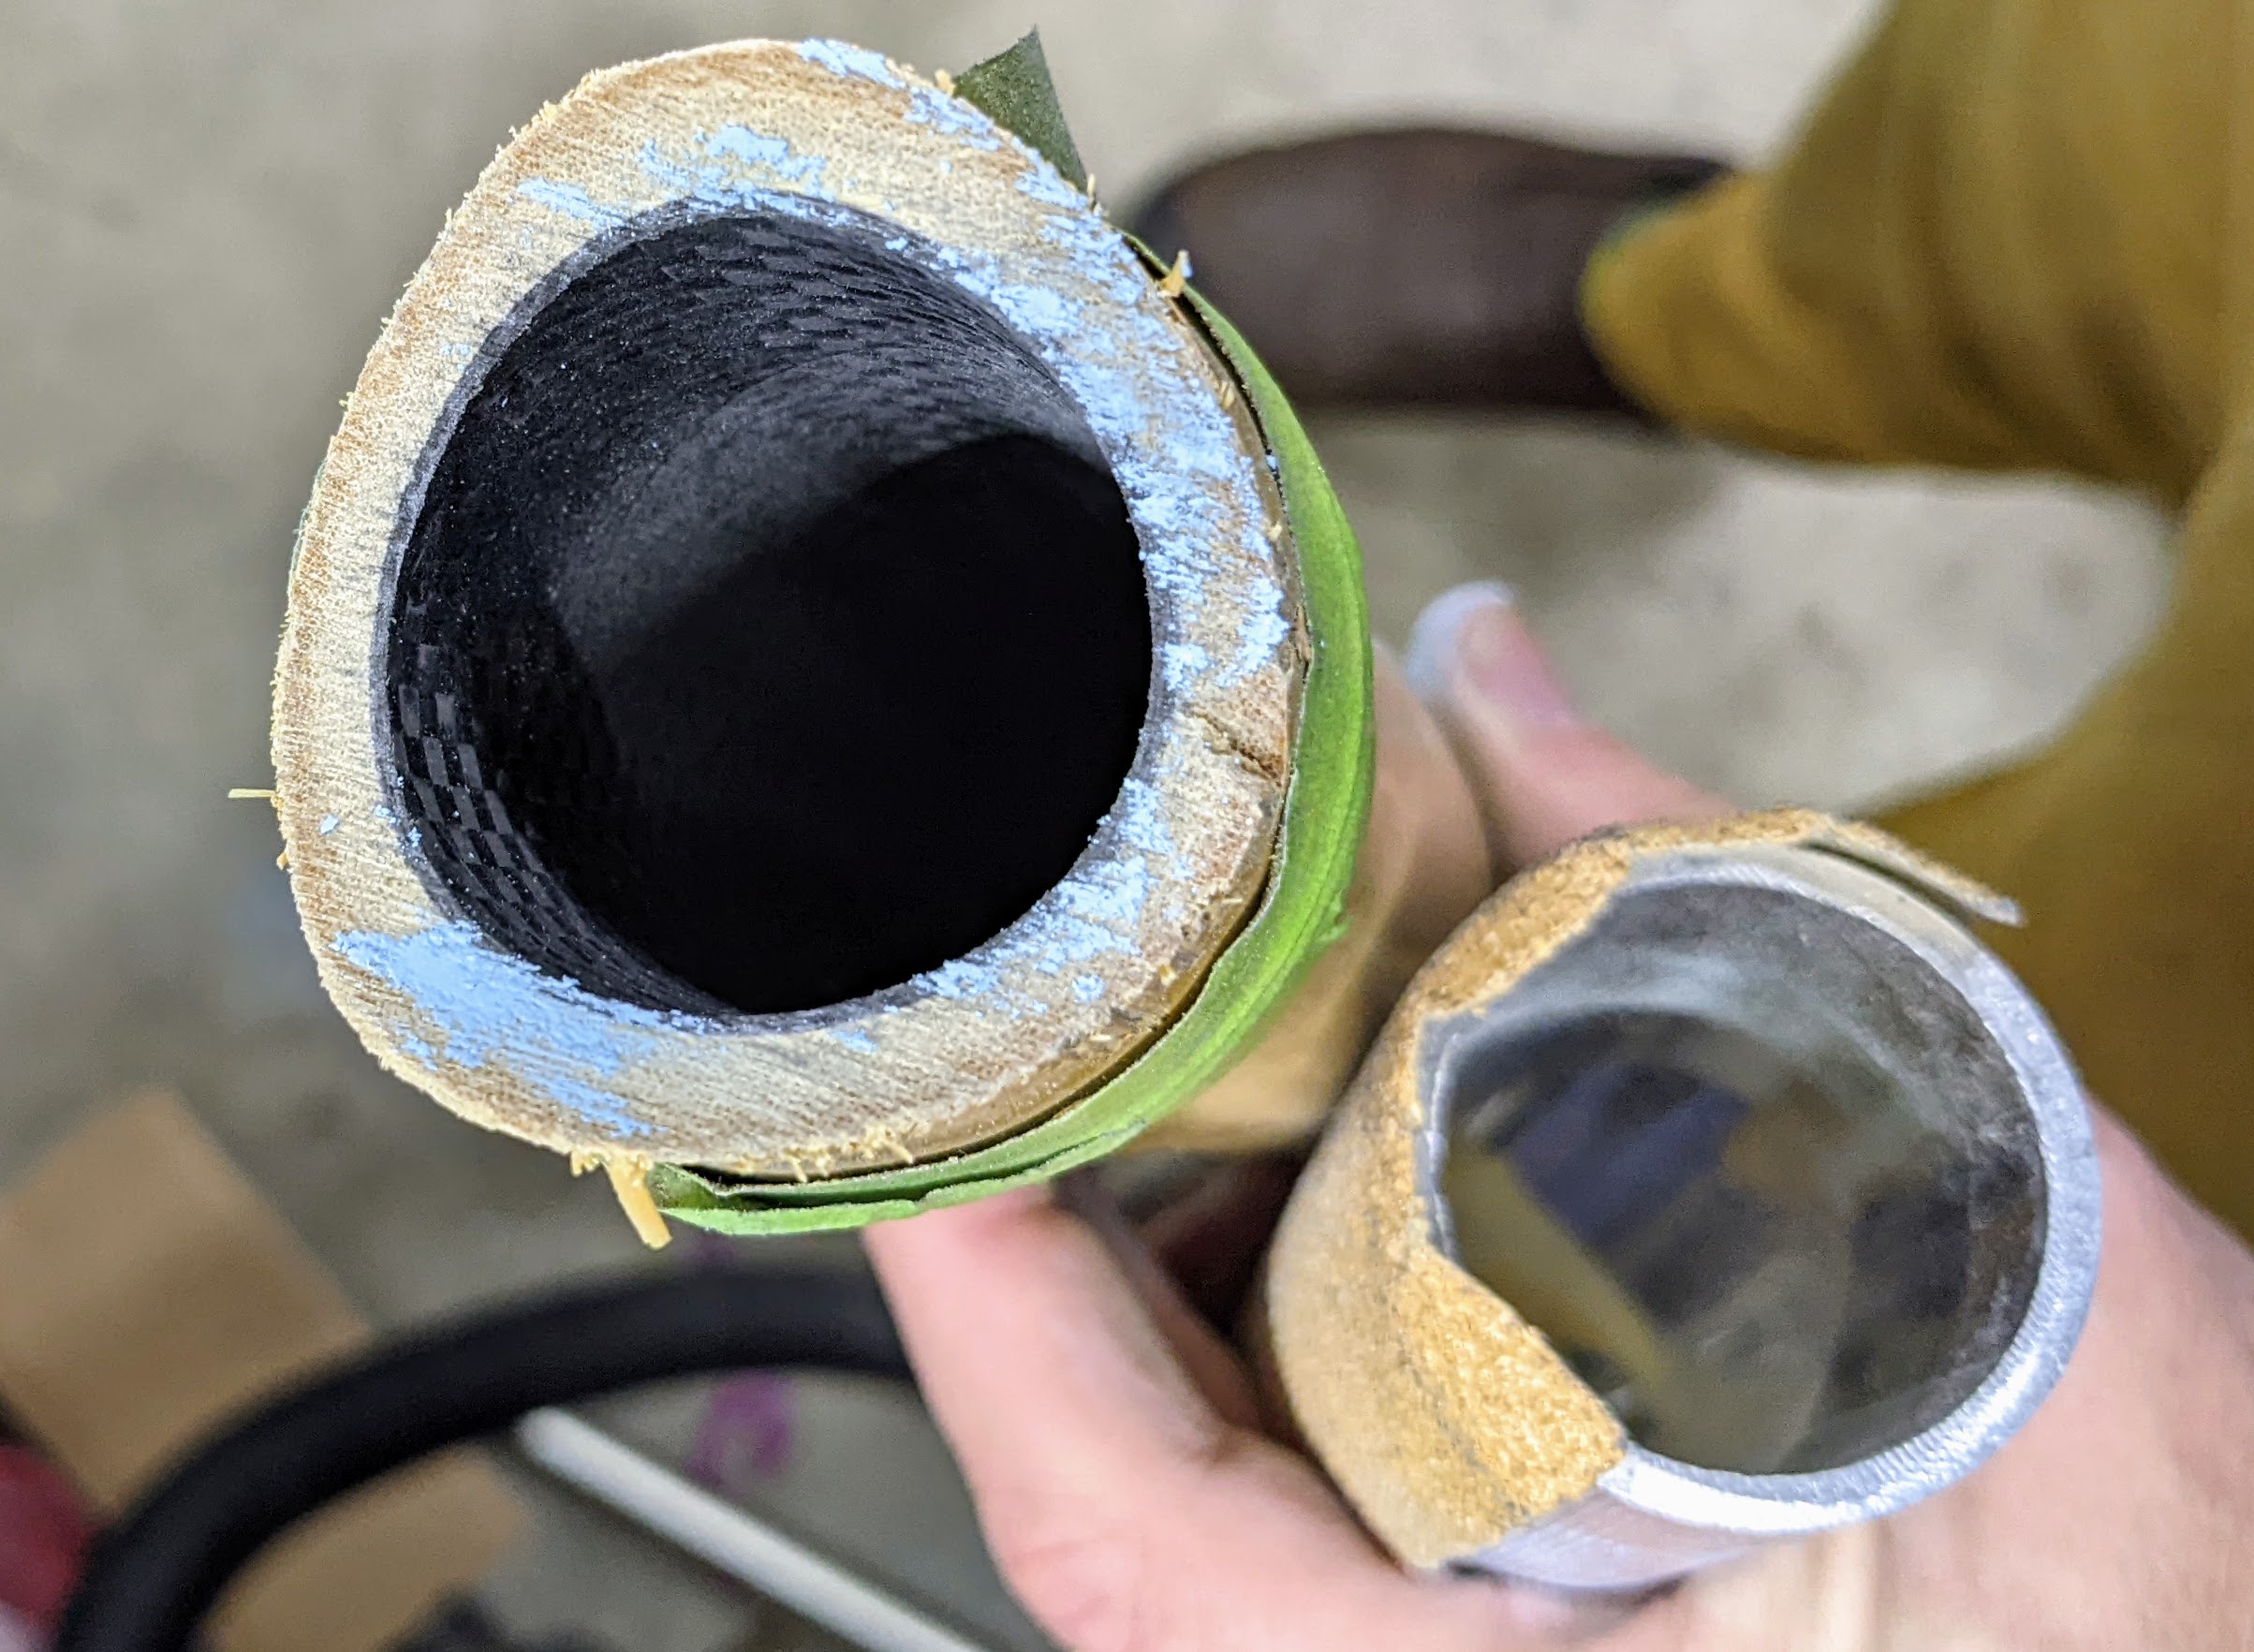
It turns out that wanting to get millimeter-level perfection with hand-carved items is incredibly time consuming. This was doubly the case with my tubes, as it contained both a bamboo outer tube and a carbon-fiber inner tube — a variation that the folks at Calfee wanted me to try. An additional complication is that bamboo itself isn’t round, nor do the sand-paper tube diameters directly match, so there was a lot of time spent using chalk to indicate where the two tubes met in order to improve the connection:
The result so far
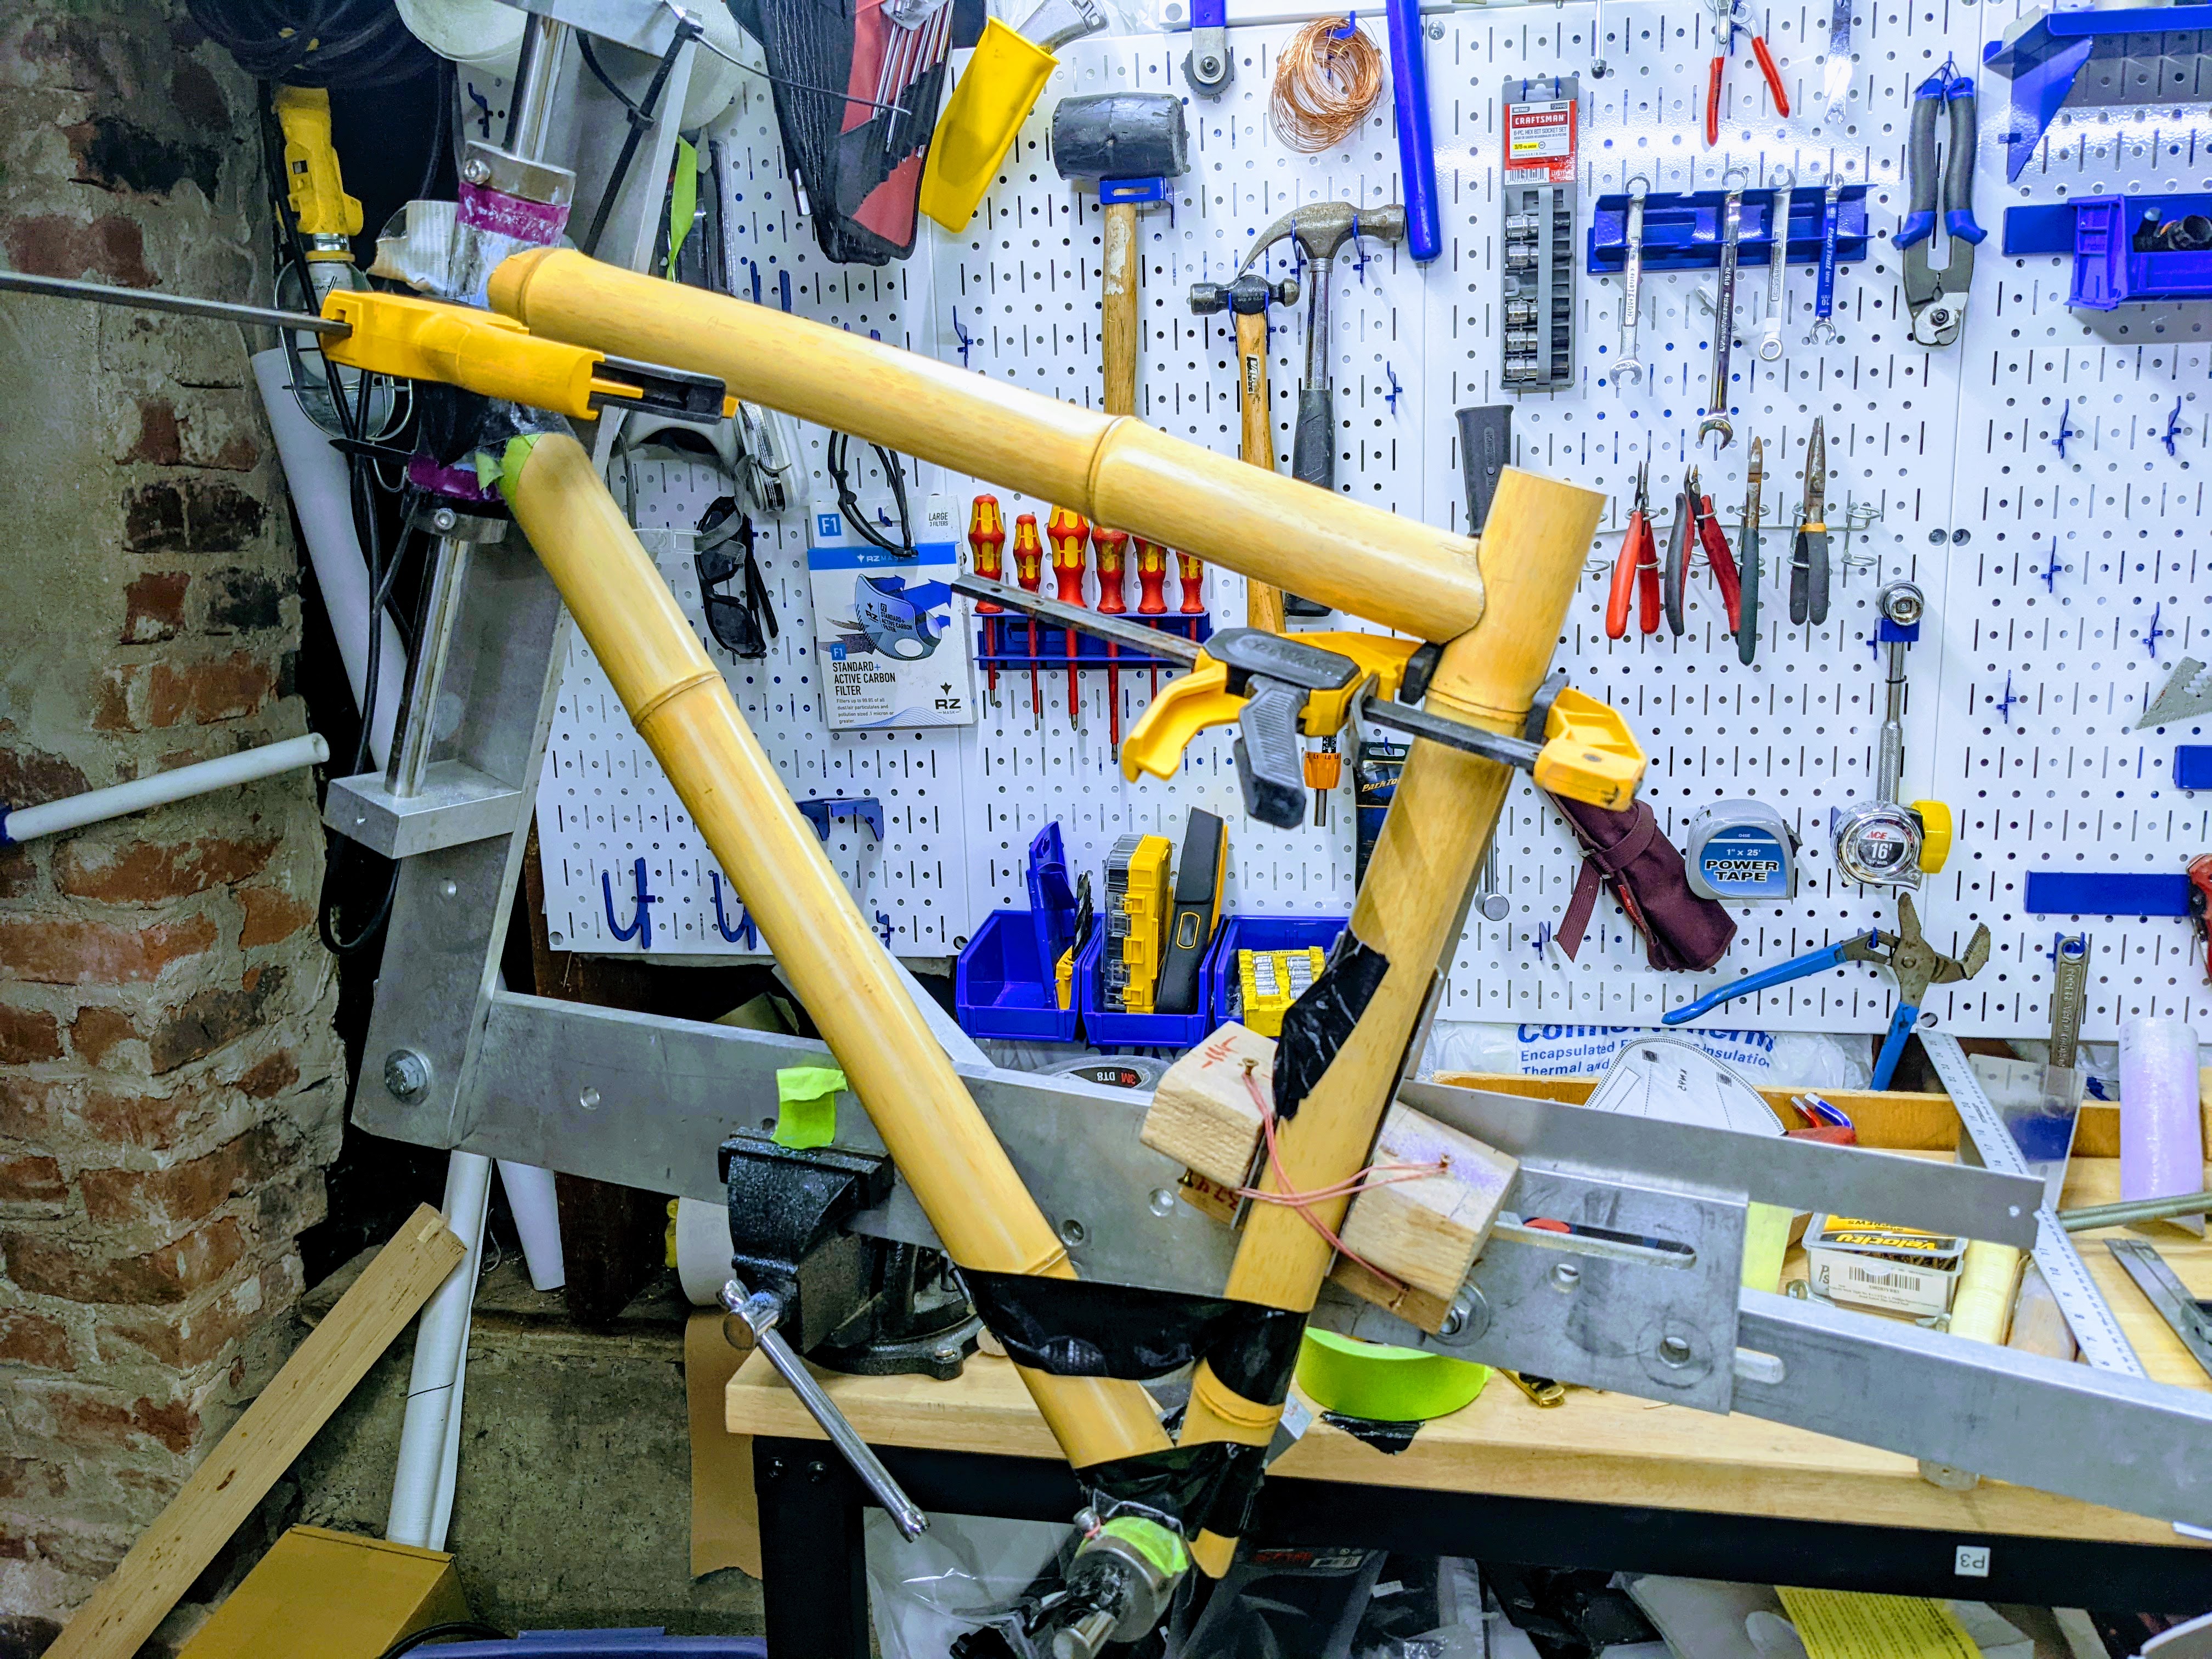
As I mentioned before, the Brew Bikes seat jig doesn’t work well for bamboo bikes. While it’s excellently designed, it only works for cylindrical tubes in 3 sizes: 28.6, 31.75, and 35mm (optional). The seat tube I’m working with is a chonky 42mm. I ended up building my own jig adapter, and after 3 attempts, I finally ended up building a version that allowed me to precisely lock-in the seat angle while I kept removing and adjusting the seat tube.
Anyways, after roughly 60 hours of work to setup a jig and carve the wood, I have something that looks like a front triangle:
The next step is the rear triangle, which is particularly challenging for a gravel bike. One has to finely thread the chainstay between the pedals and larger tires that a gravel bike has. My goal is to fit 700x45mm tires, but 42mm is likely all I can safely get away with.
On my next bamboo bike build, I’ll definitely use a tube cutter jig to save time.